The information presented here is intended as a beginning guide to
self
rescue rope work.
It is your responsibility to seek professional assistance in learning
rope rescue techniques.
See Jim's Rope Rescue Book for
Sale
See Jim's New Personal Rope
Rescue Book for Sale
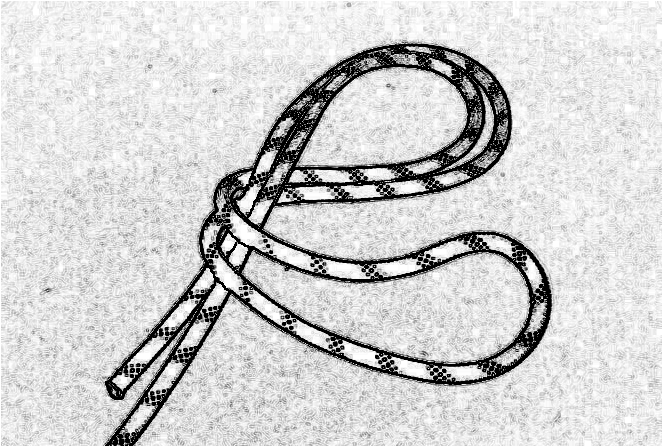
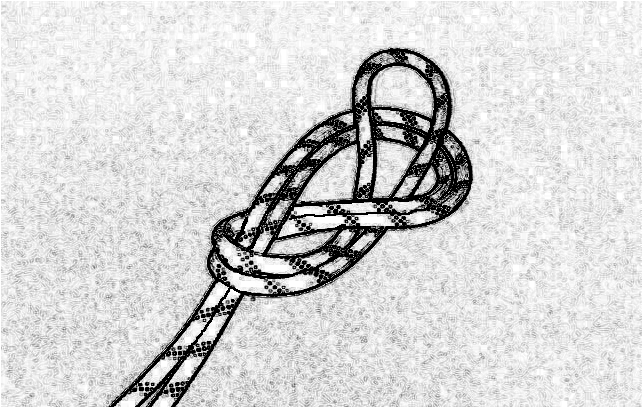
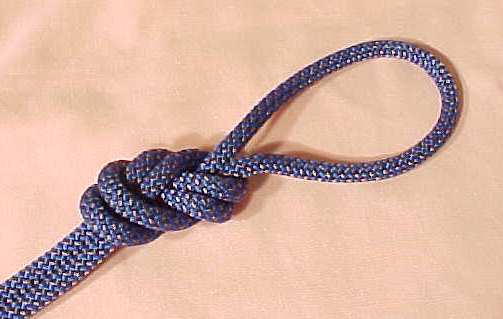
We are going to learn 5 Knots. The first is the figure
8.
The figure 8 knot will
put you on the end of a rope. This will attach the rope to a
fixed object.
It is simple, easy, fast and sure.
Figure 8
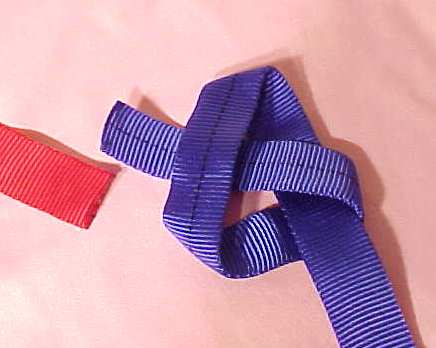
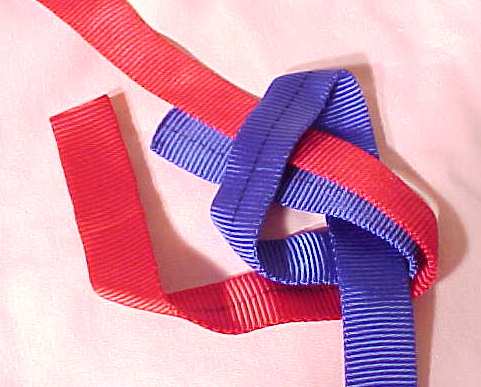
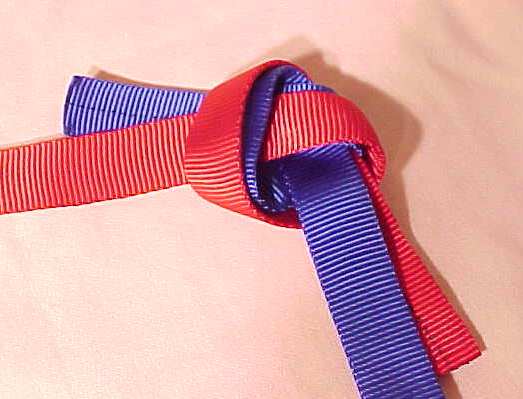
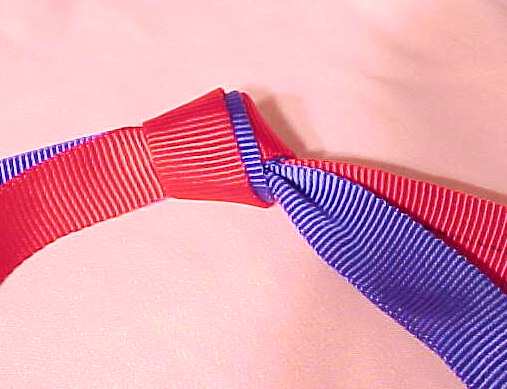
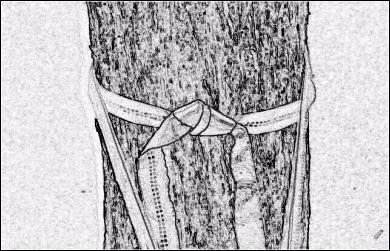
WATER KNOT (Ring Bend) or (Overhand)
This is the knot we use for webbing. It will join two pieces
together or make
a loop out of one piece. You will use this to tie off to a secure
anchor point.
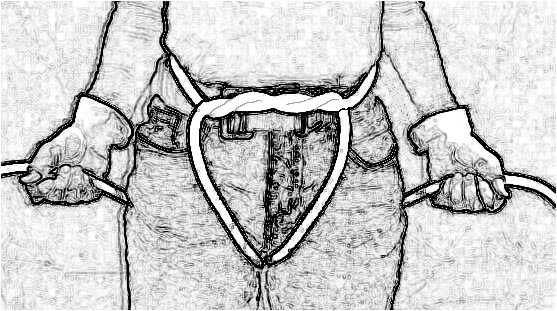
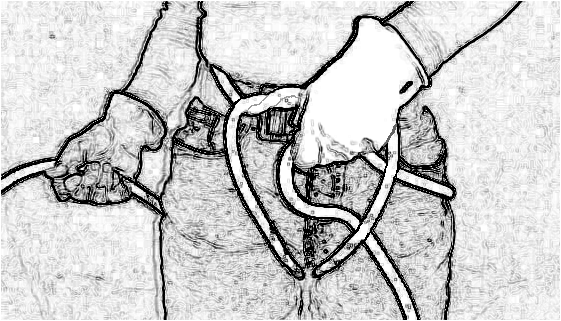
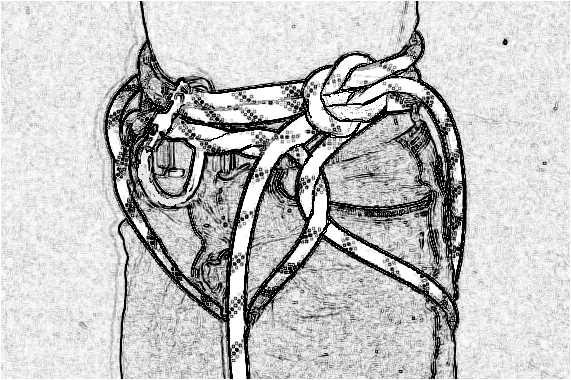
You can use it to make a Hasty Rescue Harness.
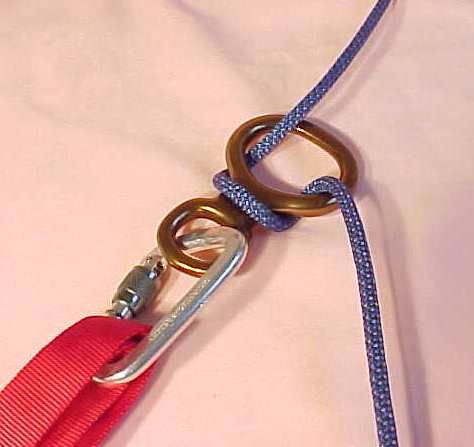
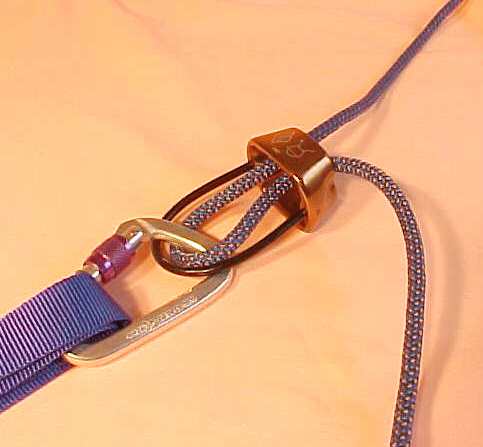
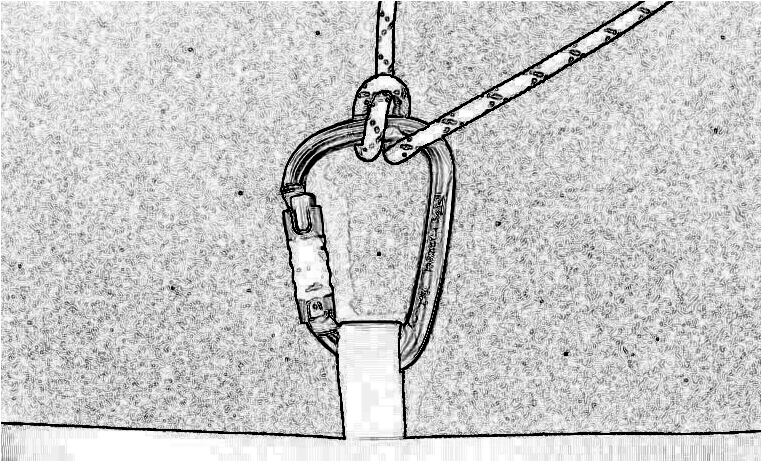
MUNTER KNOT
This is a friction knot. This lets you control the rate of the
passage of the rope
through the carabiner. You will use this to self belay or use
as a descender
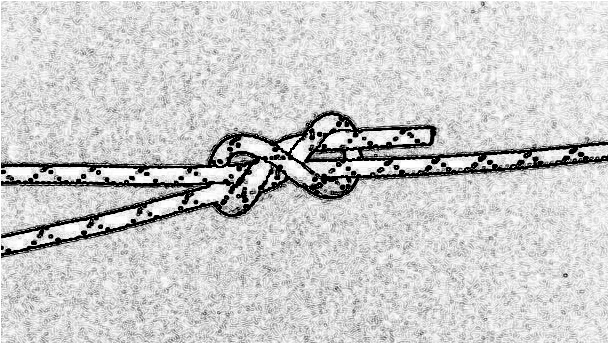
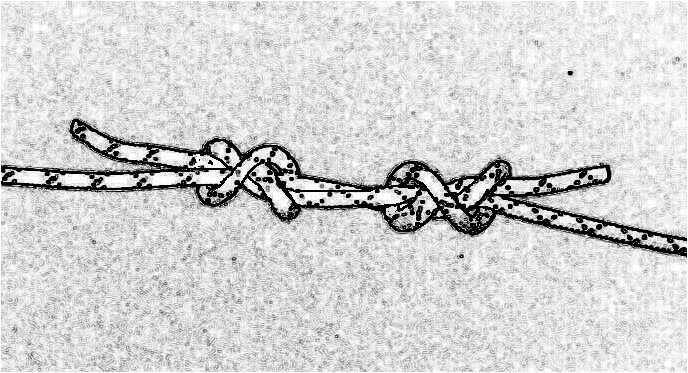
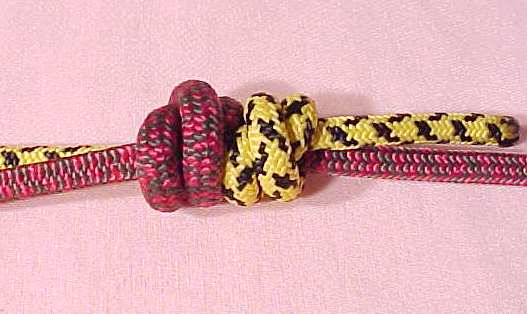
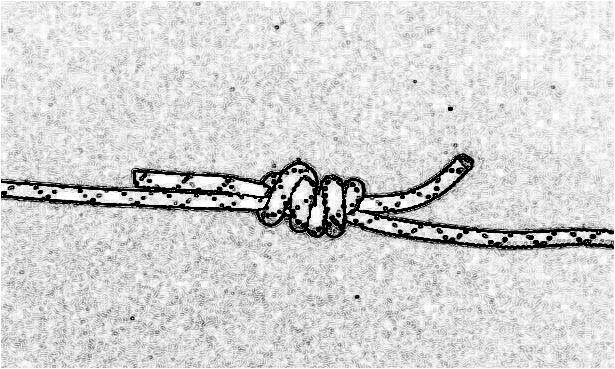
DOUBLE FISHERMAN'S BEND (Grapevine)
You will use this knot to join two ropes, or to make a loop.
You tie the same knot in each rope and then slide them together.
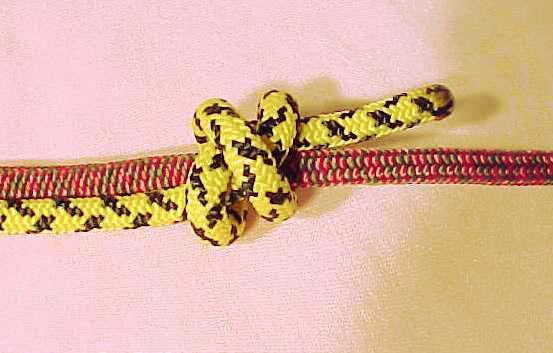
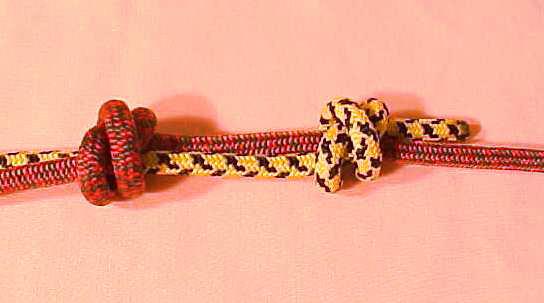
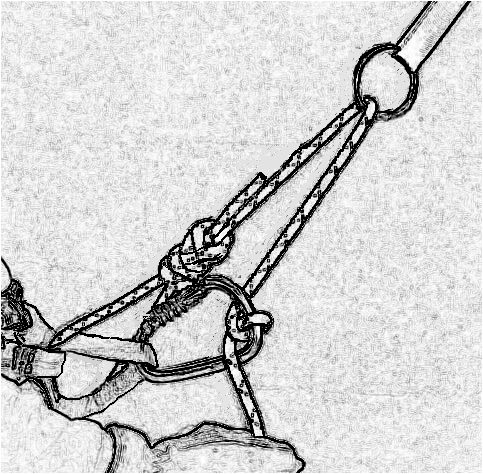
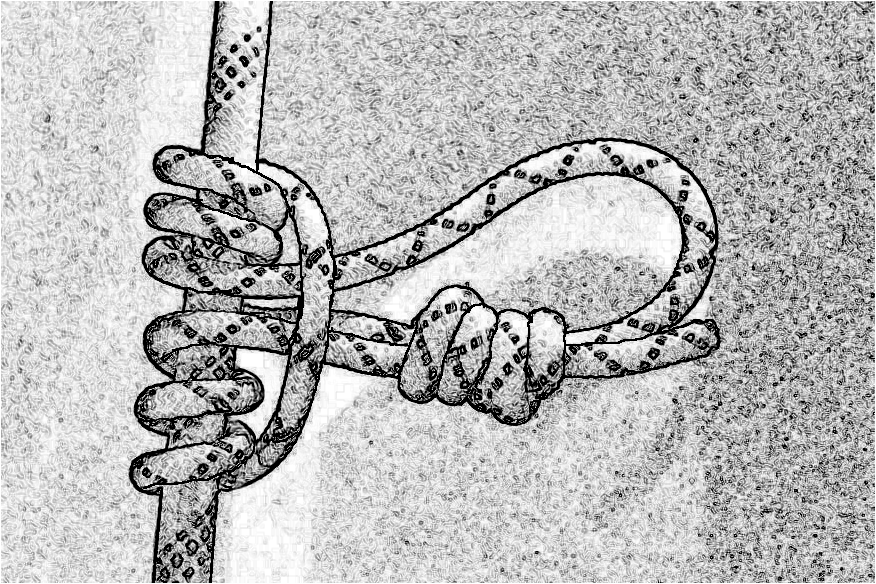
PRUSIK KNOT
You will use this knot to make an ascender or to create a break.
If you put downward pressure on the loop it locks the knot to the rope.
If you push up or down on an unloaded knot it moves. By making
two of these,
you will be able to attach one to your harness and sit on it,
thus loading it to lock.
You would then have another one placed below the seat prusik,
it would be longer
with a foot loop. While sitting on the seat prusik, you
would push the foot prusik up.
Then standing on the foot loop you would rise up, removing the
pressure on the seat
prusik, then raise the seat prusik that is unloaded. Sit,
raise,
stand, raise, sit, raise,
stand etc. to ascend the rope.
Hasty Harness
You can use 1 inch webbing or rope.

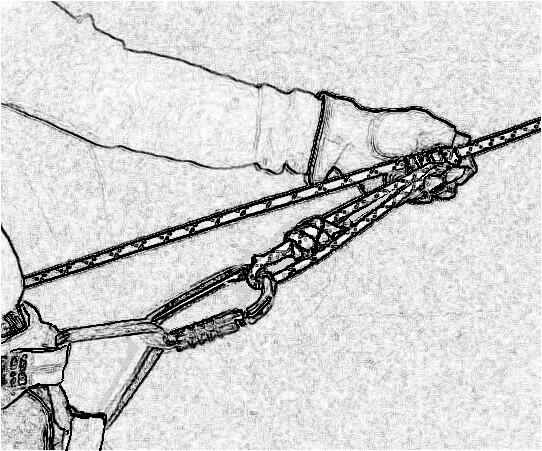
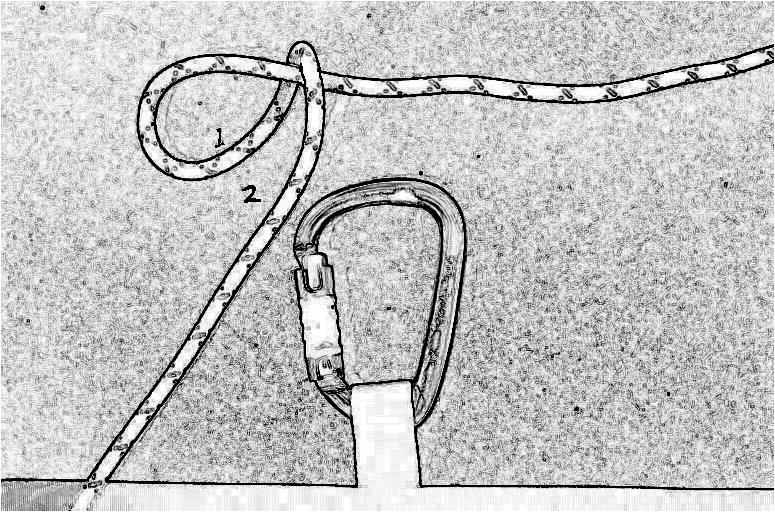
Anchor
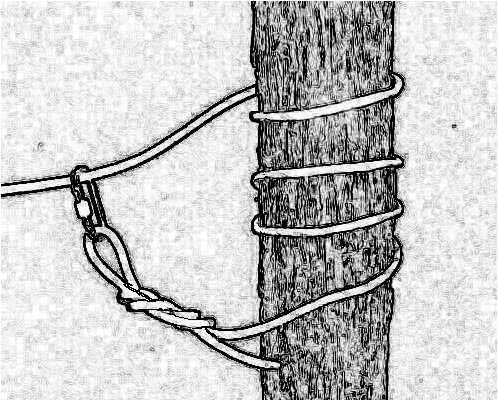
Tensionless hitch
Wrap 3 Pull 2
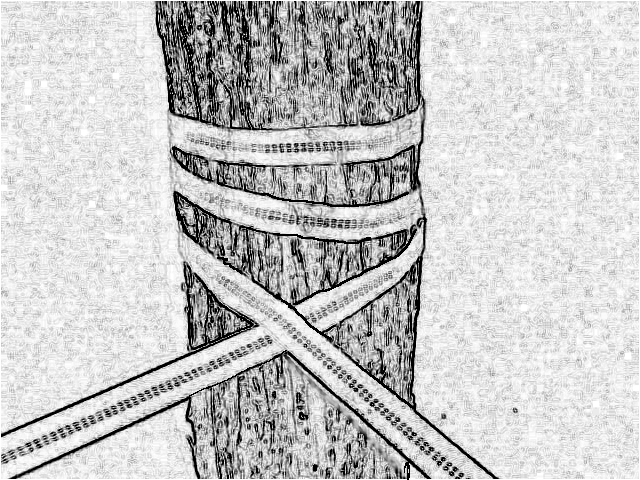
Wrap Three and Pull Two